The Creation of Solar Panels: From Sand To Panels
In the quest for clean, renewable energy, solar power has emerged as a leading contender. With ever-growing sophistication and efficiency, the humble solar panel serves as the linchpin in our solar power systems. But have you ever wondered how these devices, capable of transforming sunlight into electricity, are created? Incredibly, it all begins with something as simple and as abundant as sand.
Step 1: Purifying the Silicon
Solar panels are primarily made of silicon, a semiconductor material that happens to be the second-most abundant element on Earth, right after oxygen. But before silicon can be used to create solar panels, it needs to undergo a purification process, which starts with quartz sand.
The sand undergoes a series of heating and cooling treatments in an arc furnace, in a process known as carbothermic reduction. This produces metallurgical-grade silicon, which is about 98% pure. However, for solar panels, an even higher degree of purity (99.9999%) is required. So, the metallurgical-grade silicon is further refined through a process known as the Siemens process, where it is reacted with hydrogen at high temperatures, yielding the desired electronic-grade silicon.
Step 2: Creating the Ingots
The highly pure silicon is then melted and cooled to form solid blocks known as ingots. The cooling process is very carefully managed to ensure that the silicon crystallizes in a uniform lattice structure, which is crucial for its eventual function in the solar cell.
In this stage, one of the two primary types of solar panels is decided: monocrystalline or polycrystalline. Monocrystalline silicon is formed by growing a single crystal. This process is slow and more expensive, but it yields the most efficient cells. On the other hand, polycrystalline silicon is quicker and cheaper to produce, but it is less efficient, due to its many crystal boundaries.
Step 3: Slicing the Wafers
These ingots are then sliced into very thin, disc-shaped pieces known as wafers. A wire saw soaked in a slurry of silicon carbide (an abrasive substance) is typically used for this process to ensure the silicon is cut precisely without causing breakage. The silicon wafers are then polished to remove any damages from the sawing process.
Step 4: Doping and Coating
The wafer then goes through a process called doping. This involves adding small amounts of other elements, like phosphorus or boron, to the silicon, which changes its electrical properties. It creates an imbalance of electrons and enables the silicon to effectively convert sunlight into electricity.
After doping, the silicon wafer is given an anti-reflective coating, typically silicon nitride or titanium dioxide, to ensure that the sunlight is absorbed rather than reflected.
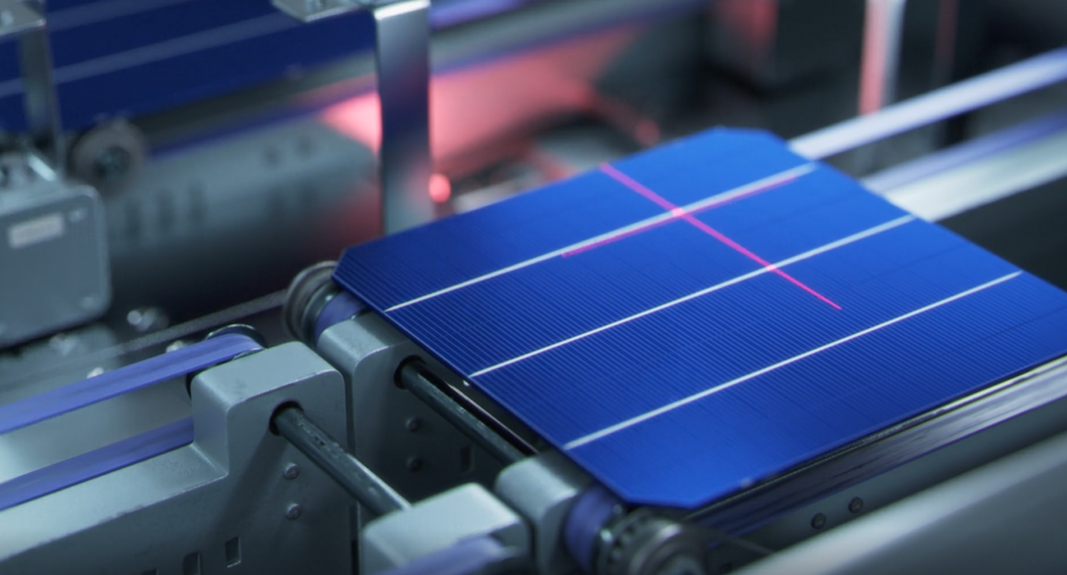
Step 5: Assembling the Solar Cells
Each wafer is then wired to another, creating a circuit. These interconnected wafers, now called solar cells, are carefully arranged on a backing sheet and sealed behind a protective layer of glass or another durable material to create a solar module or a panel.
Step 6: Testing and Installation
Before they can be installed, the solar panels are tested for efficiency and durability. This includes exposure to various weather conditions, to ensure they can withstand the elements and maintain functionality over time.
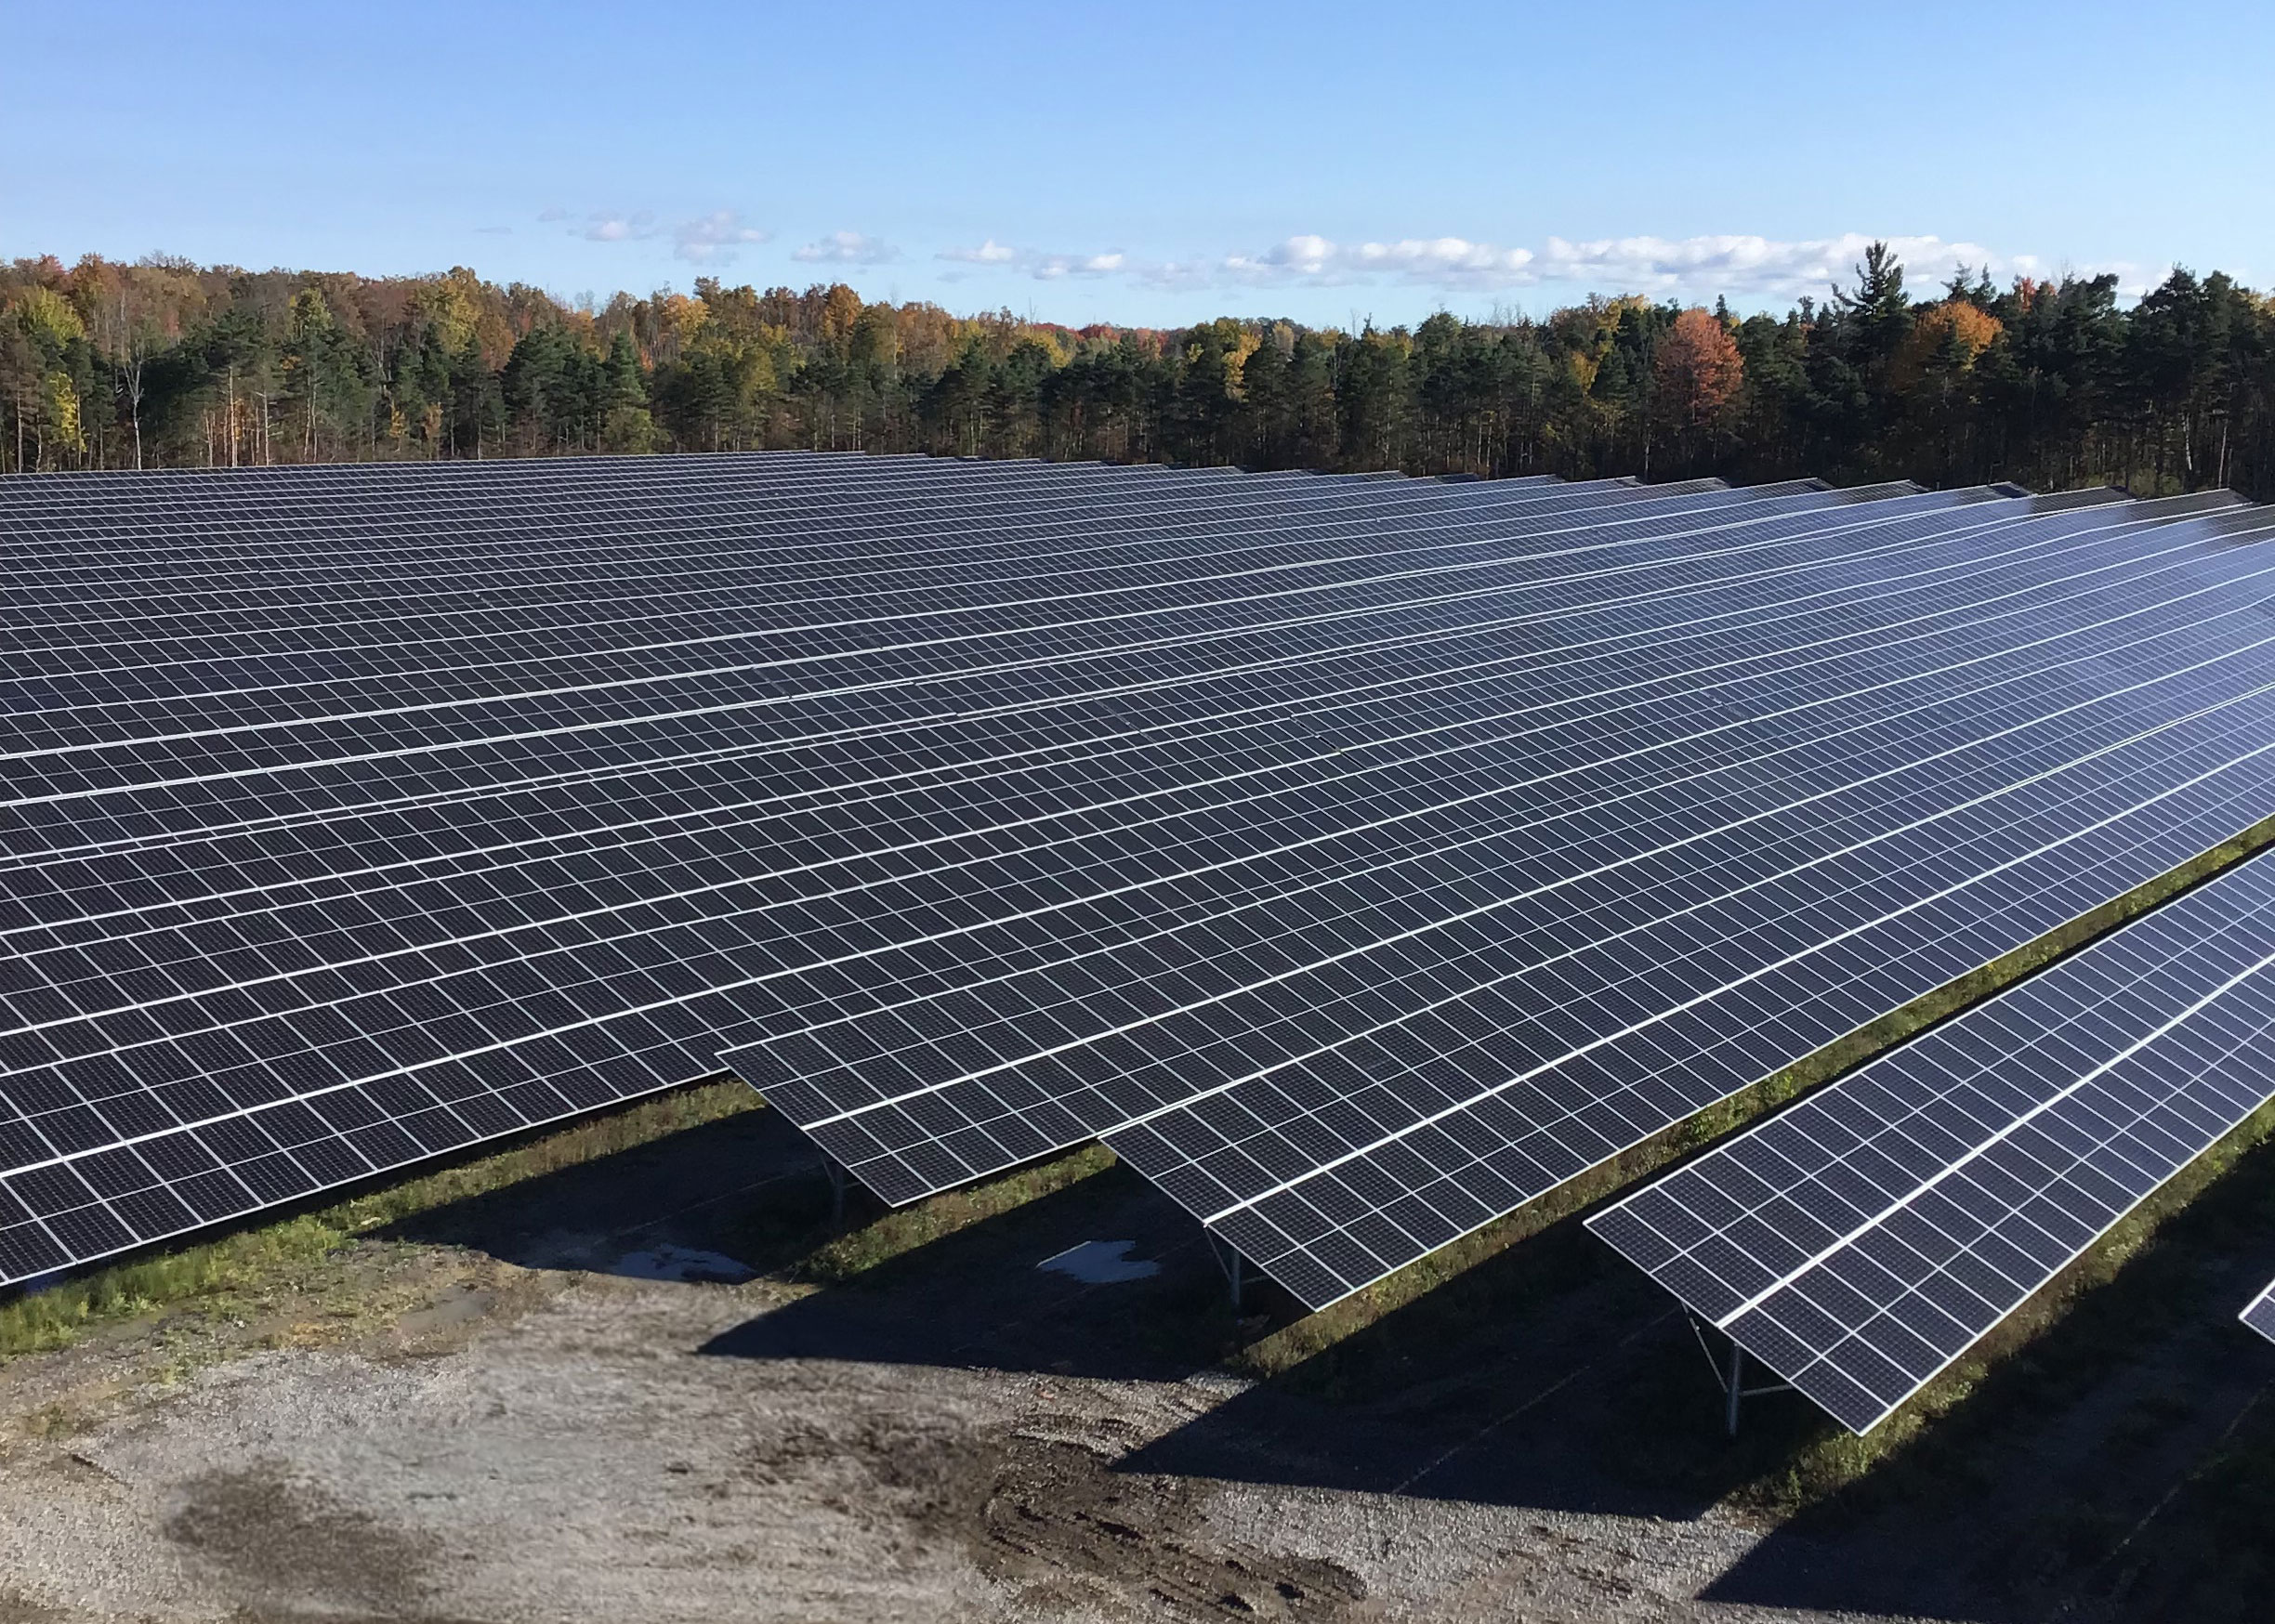
Once testing is complete, the solar panels are ready for installation. With the correct positioning to maximize sunlight exposure, these panels are set to convert the sun’s energy into usable electricity for decades to come.
Solar panels’ production may be a complex process, but the end result is a technology that harnesses the most plentiful source of energy our planet has—the sun. As we continue to improve the efficiency and cost-effectiveness of solar panels, our future becomes increasingly more sustainable. Our journey from grains of sand to powerhouses of light is not only a testament to human ingenuity, but also a beacon of hope for a clean, renewable future.